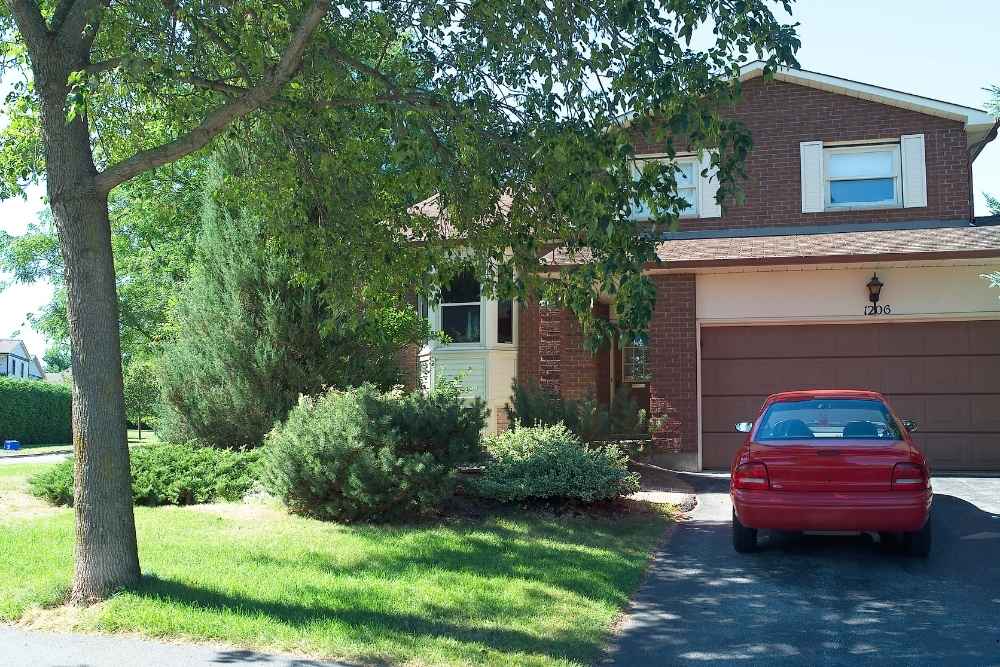
Getting ready for a new driveway is an exciting project, but proper preparation is key to ensuring long-lasting results. Asphalt paving isn’t just about laying down a new surface—it’s a process that requires planning and the right steps to guarantee durability and performance. As an experienced asphalt and concrete paving contractor specializing in asphalt paving, we’ve helped countless property owners in Warrensburg, MO, prepare for driveway installations. Here’s what you need to know to get your property ready for asphalt paving.

Why Preparation Matters for Asphalt Driveways
Preparation isn’t just a preliminary step; it’s the foundation of a successful asphalt driveway. A well-prepared surface ensures that the asphalt adheres properly, drains water effectively, and resists cracking or settling over time. Without proper preparation, even the best asphalt won’t hold up against Warrensburg, MO’s weather conditions.
The Risks of Skipping Preparation
Neglecting proper driveway preparation can lead to costly problems down the road, including:
- Cracks and potholes caused by unstable ground
- Drainage issues leading to standing water and erosion
- Uneven surfaces that can damage vehicles
- A shorter lifespan for the driveway, requiring repairs or replacement sooner than expected
Key Steps for Driveway Asphalt Paving Preparation in Warrensburg, MO
Getting your driveway ready for asphalt paving involves several important steps. Here’s a breakdown of what to expect during the preparation process.
1. Evaluate the Existing Surface
The first step is assessing the current condition of your driveway or the area where the new one will be installed. If there’s an old driveway, it may need to be removed entirely. Crumbling asphalt, deep cracks, or uneven areas are signs that the existing surface isn’t suitable for repaving without a full replacement. A professional paving contractor in Warrensburg, MO, will evaluate the site to determine the best course of action.
2. Clear the Area
Before paving begins, the area needs to be cleared of any obstacles. This includes removing vehicles, outdoor furniture, debris, and landscaping features that might be in the way. Trimming overhanging branches and edging around the driveway also helps create a clean workspace for the paving crew.
3. Grading and Sloping
Proper grading is crucial to ensure water drains away from your driveway, preventing puddles and water damage. The area will be graded to create the right slope, typically about a 2% gradient, which allows rainwater to flow off the surface efficiently. Without proper drainage, water can seep into the asphalt, causing cracks and weakening the foundation over time.
4. Establishing a Strong Base
A strong, stable base is the foundation of any durable asphalt driveway. After grading, a layer of crushed stone or gravel is spread and compacted to create a solid foundation. This base layer helps distribute the weight of vehicles evenly and reduces the risk of settling or shifting. In Warrensburg, MO, where freeze-thaw cycles are common, a well-compacted base is essential for preventing frost heave and other weather-related damage.
5. Compacting the Sub-Base
Compacting the sub-base is just as important as laying it down. Specialized equipment is used to ensure the base is tightly compacted, providing a firm foundation for the asphalt layer. This step reduces the risk of future settling, which can lead to uneven surfaces and structural issues.
6. Applying a Binder Layer
Before the final layer of asphalt is added, a binder layer is applied. This layer consists of larger aggregate mixed with oil, creating a strong, durable bond between the base and the top asphalt layer. The binder layer adds stability and helps the driveway withstand heavy loads without cracking.
7. Final Asphalt Layer and Compaction
Once the binder layer is in place, the final layer of asphalt is poured and spread evenly across the surface. The paving crew will carefully smooth and compact the asphalt using heavy rollers to eliminate air pockets and create a sleek, uniform finish. Proper compaction is essential for ensuring the longevity of the driveway.
Tips for Homeowners Before Asphalt Paving Begins
While much of the preparation is handled by the paving contractor, homeowners can take a few simple steps to help the process go smoothly:
- Communicate with your contractor about any specific concerns, such as drainage issues or property boundaries.
- Ensure all vehicles are moved out of the work area and nearby access points.
- Inform neighbors if the project might affect shared driveways or street access.
- Plan for limited driveway access for a few days after paving to allow the asphalt to cure properly.

What to Expect After the Driveway is Paved
Once your new driveway is installed, it will need time to cure. While you can often walk on it within a day, it’s best to wait at least 48 hours before driving on the fresh asphalt. During the curing period, avoid parking heavy vehicles in one spot for extended periods to prevent indentations.
Regular maintenance, such as sealcoating every few years and promptly repairing minor cracks, will keep your driveway looking great and performing well for many years.
Ask for a Quote on Driveway Asphalt Paving in Warrensburg, MO Today
If you’re ready to upgrade your driveway, don’t hesitate to ask for a quote or estimate on driveway asphalt paving. Our experienced team is here to guide you through every step of the process, from preparation to the final compaction. Contact Asphalt Wizards today at 816-833-0200 to get started on a durable, professionally installed driveway that will enhance your property’s curb appeal.
